Lvt And Lvp Flooring Installation Best Practices
When it comes to flooring installations, luxury vinyl flooring is an excellent DIY project gaining popularity with homeowners. One of the reasons luxury vinyl tile (LVT) and luxury vinyl planks (LVP) ... Read More
Installing Luxury Vinyl Flooring

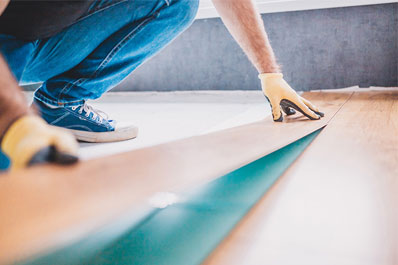
When it comes to flooring installations, labor costs can swallow up a lot of your budget, which is one main reason that luxury vinyl flooring – a reasonable DIY project – is gaining in popularity with homeowners. In fact, you could get started today and be done in the same day – and with professional, polished results. If that sounds attractive to you, read on for key tips for a pro LVT flooring installation.
Floor Preparation
One of the reasons LVT and LVP are so popular is because they can be installed in nearly any indoor space, regardless of what's already on the floors. You can lay luxury vinyl flooring on top of almost any hard surface, as long as it is smooth, clean, dry, and flat. Before you begin, sweep or vacuum the sub-floor and ensure that it does not have any loose areas or screws sticking up, as these will make it difficult to lock in or glue down your new floor tile and achieve a smooth surface.
Rigid core LVT requires 0 acclimation time, which means you can install as soon as you unload the product from your car.
Different Kinds of Luxury Vinyl Flooring
One key distinction between different types of luxury vinyl flooring (LVF) is whether it is the click-lock or glue-down variety. Both types of LVF are available from MSI for commercial or residential installation. For example, MSI's Dryback line is a popular flexible wood-look glue-down luxury vinyl plank flooring. In addition, Rigid Core, available in LVP and LVT flooring styles, includes an easy-to-install click-lock feature, and it's 100% waterproof, making it an attractive option as well.

If you have opted for glue down LVP flooring, be sure to collect all the right materials to correctly prepare the subfloor prior to installation. MSI provides all the needed luxury vinyl flooring accessories, including Concrete and Floor Primer, which creates an optimal surface for the adhesive to bond with. In addition, Multi Use LVT Adhesive is a low odor, water resistant tile adhesive that provides a strong bond, or the Universal Pressure Sensitive LVT Adhesive, which will give your tile a strong bond with no calculated VOCs, as well as offering mildew and mold resistance. Another option is the Adhesive Cutback Sealer, which is an ultra-strong acrylic polymer that creates a clean, mold and mildew resistant surface. Carefully follow all manufacturer instructions.
HOW TO MEASURE AND CUT YOUR LVT OR LVP
First, you will need to decide which direction to lay your tile. Typically, professional installers lay the tile parallel with the longest wall. You can accurately measure the length of a wall by measuring a few inches out from the wall and marking using a laser to aid you. Be sure to measure twice, just to verify.
Once you've measured and re-measured, plan to leave a 1/4-inch gap between the wall and any tiles. This allows for the inevitable expansion and contracting, but it also leaves you wiggle room in case you need to replace a damaged tile later.
When installing your planks or tile, keep your installation square by building several rows at a time. In addition, make your cuts from the left side to the right, as this side will be hidden under the trim. You can score and snap tiles to size, but for a quicker, cleaner cut, a laminate floor cutter is best and can be inexpensively rented from most local hardware stores.
LOCKING IN CLICK-TO-LOCK PLANKS
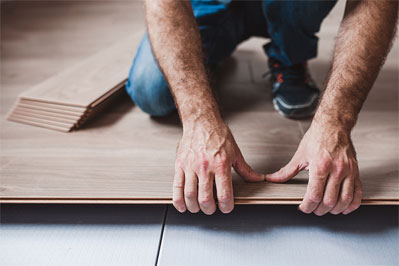
Luxury vinyl planks featuring a click-to-lock edge can be easily installed. All you have to do is lightly tap them into place using a small piece of plank. This will ensure that any two pieces are tightly connected. A seam or hand roller may be used at the end joints to accomplish this same tight seal.

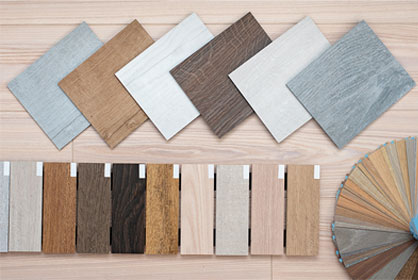
The popularity of LVF lies partly in its affordability and durability since it can withstand the demands of busy family life. LVF is available in a wide range of colors, patterns, and on-trend looks—from LVP natural wood to LVT natural stone. And because this easy-care flooring is a great DIY project, you'll be walking on your new floors in no time at all.


