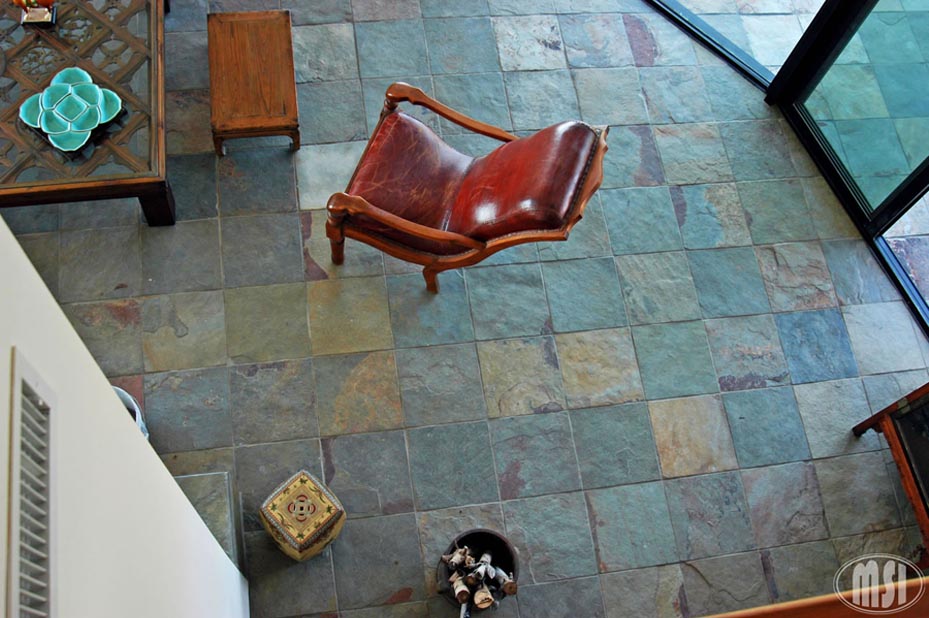
Slate Tile Installation
The vibrant colors and unique texture makes slate tile an exceptional interior flooring alternative. Slate is formed of compressed layers of sediments formed under the ocean. Its tough composition mak ... Read More
The following procedure is for the installation of Natural Stone Slate Tile for Flooring.
It may be used over any wood or cement floor that is structurally sound and dry. In new home constructions where plywood is used as a sub floor, it is suggested that an underlayment or backer board needs to be attached to the sub floor to insure rigidity where slate floors will be installed.
Clean area where Slate is to be installed. In the case of smooth painted or varnished floors, it is necessary to sand with a very coarse sand paper to assure a good mastic bond.
Lay out the slate to understand pattern choices. For multi-color slate, blend tile randomly to give proper blend of colors as color vary from tile to tile.

Using a notched ¼" X ¼" trowel, hold at a 45° angle to be sure a full ridge is made with the notches. Spread thinset on the floor starting at a far corner so you can back out of the room as your proceed. Spread just enough area so you can reach over it to place the slate. Spread a good amount of thinset on the floor. Adding or taking away thinset will ensure that all the tiles are evenly set.
Maintain a grout space between the pieces as recommended by the slate supplier (1/4" or 3/8") depending on the size of the tiles. To do these accurately, use spacers. Slate may also be laid without joints, in which case edges are then butted against one another, only if the material is honed or polished, however we recommend 1/16" – 1/8" joint.
Each piece of travertine should be firmly pressed into the adhesive to secure a good bond.
After all slate is set in place – allow at least 24-36 hours depending on weather conditions, for drying before grouting joints.
Slate tile can be easily cut with a wet saw using a diamond blade.
Grouting and Cleaning
1.Have all equipment and material clean. Clean all joints and surface of the travertine. Applying clear sealer or enhancer is recommended on travertine before grouting, so that the grout color does not penetrate the travertine tiles. Use clear sealer or enhancer as a grout release to insure a clean surface.
Using a Clear Sealer or Enhancer is a personal choice.
2. Add water slowly while mixing to get the texture of damp sand mix grout according to the manufacturer specs, and apply with a grout float to press grout deeply between the joints. Mix only enough grout to be used in about 30 minutes or difficulty will result in hardening in the pail.
3.Apply mix to joints with a grout float making certain that the joint is completely filled with mix.
4.Trowel or wipe off surplus grout from travertine with a damp sponge. Rinse several times with clean water, changing the water as often as necessary so it remains clear. It is very important to do this as you go along.
5.After grout has set hard to the touch, clean surface of travertine and along grout line by rubbing briskly with a clean piece of cloth.
6. Let joints harden for three days.
7.Wash floor completely again by freely applying fresh clean water with sponge on the entire flooring and sponging dry.
Finishing
Applying clear sealer or enhancer is recommended after installation to seal the travertine tiles and the grout lines. Using the same sealer used as a grout release prior to grouting, wipe off all excess sealer so there is no fogging.
Using the same sealer used as grout release prior to grouting, to seal the floor, apply the 2nd coat on the tiles and grout, wipe of all excess sealer so there is no fogging.
Sealing travertine is necessary, it is a matter of choice – whether you choose to retain the natural beauty of the travertine or apply a chemical sealer that is available in a shiny or matte finish. Sealers may be purchased at retail stone dealers.
HELPFUL HINTS: Do not apply a sealer over wet, waxed or oiled travertine.
1.Apply dealer with a large clean cloth or with a paint pad. Apply in a thin coat. Sealer or enhancer will dry to the touch within two hours, however, it is advisable to stay off the floor for 24 hours.


